Zendesk to Salesforce Migration: Step-by-Step Guide for a Smooth Transition

Many companies that use Zendesk sooner or later reach this point. The system that was once convenient starts limiting customization, complicates integrations, and leaves gaps in reporting. If you are scaling fast or seeking good visibility for all departments, such cracks are felt even worse. And this is often when Zendesk to Salesforce migration comes into your focus.
At the same time, а successful Zendesk to Salesforce data migration is not about dumping tickets from one platform into another. The scope of work is wide: mapping data, preparing your team for the change, and maintaining business continuity while upgrading your foundation of customer operations.
When approached structurally, the move gives you a single customer view, sharper analytics that inform strategy, and workflows flexible enough to grow without forcing clumsy detours.
In this article, we’ll explore how to migrate from Zendesk to Salesforce correctly. We’ll break down the essential steps and your actions so you can make the shift stress-free.
Critical Steps Before Moving from Zendesk to Salesforce
Approaching the shift blindly risks turning your valuable data into scattered fragments (even more scattered than before) – instead of a unified system. Before any ticket or customer record makes its way over, you need to get prepared for the Salesforce CRM migration.
The steps we describe below are simple. Yet, their impact is enormous. Decisive, we’d say.

Step 1. Take Stock of What You Have
Created for tickets from the very beginning, your Zendesk setup carries not only tickets. It holds workflows, some integrations, and automations. When migrating from Zendesk to Salesforce, audit these elements carefully. Which are worth carrying over? Which are outdated? Which deserve a redesign?
What this step does: It prevents unnecessary “debris” from sneaking into SF.
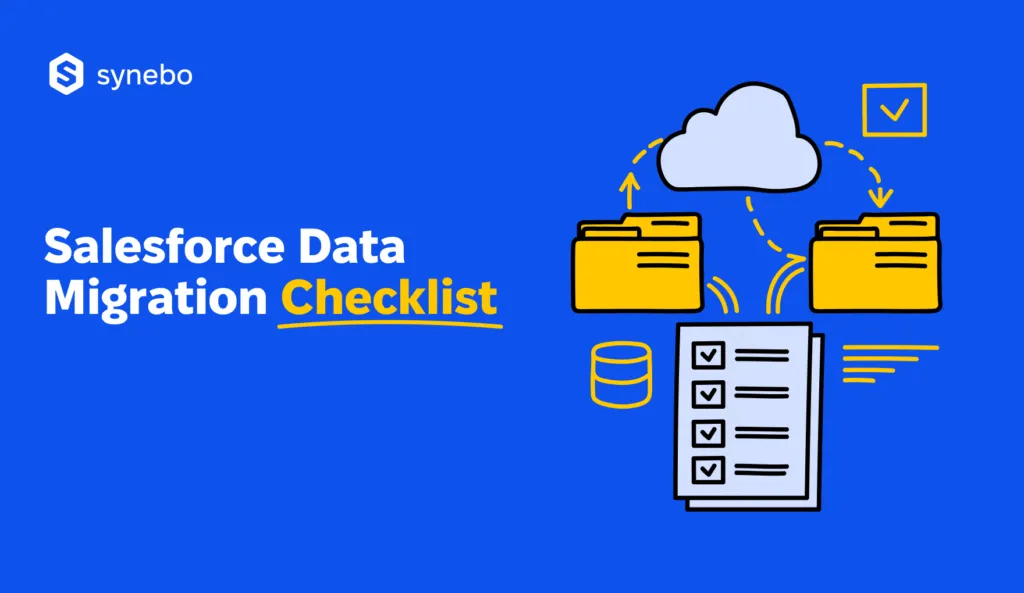
Read Also: Salesforce Data Migration Checklist: What to Prepare Before You Start
Step 2. Set Sharp Objectives
Your migration to Salesforce, if you haven’t defined your goals, risks turning into a copy-paste exercise. Do you want Salesforce to unify your client support and sales data? Replace fragile integrations? Provide leaders with deeper analytics?
What this step does: When you know your objectives, you keep the project focused and measurable.
Step 3. Rally the Right People
For over a decade, we’ve hardly ever seen a migration to be a one-person mission ;). So, our tip for the companies switching from Zendesk to Salesforce is: pull in voices from your IT Dept, support, operations, and the company’s leadership. What really works in your favor here is that еvery team can spot risks that others miss.
What this step does: This ensures that the new setup reflects the company’s real needs/goals/aspirations.
Step 4. Know Your Resources
We’ve noticed these patterns long ago: rushed schedules inflate risk. Inflated budgets frustrate key decision-makers in the company. So, for your Salesforce migration, establish a timeline with milestones and cost estimates you can defend.
What this step does: The structure protects momentum and prevents mid-project derailments.
Need guidance for your Zendesk to SF move? The Salesforce data migration consultants at Synebo can step in at any stage and help you prepare, avoid risks, and steer your migration forward. Contact us.
Your Guide: How to Migrate Zendesk to Salesforce with Ease
Switching from Zendesk to SF involves much more than “just adopting” a more powerful platform. It’s about safeguarding the knowledge, context, and history that are stored inside user records; it’s also about every ticket your crew solved, and the macro you’ve built up over the years.
Companies migrate from Zendesk to the Salesforce Service Сloud for many reasons. For instance they outgrew Zendesk’s limitations, such as lack of advanced automation and/or weak reporting. Or they need integrations with the wider SF ecosystem.
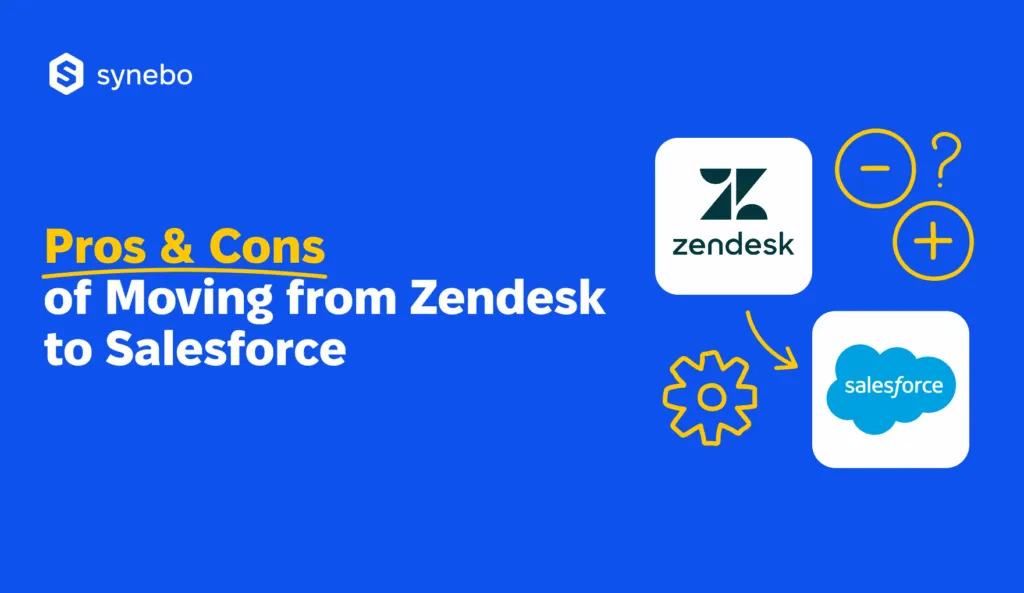
Read Also: “Pros & Cons of Moving from Zendesk to Salesforce Service Cloud”
But the real challenge isn’t making the decision “we’ll move”. It’s – ensuring that the lifeblood of your support operation, the data itself, arrives in SF intact.
Badly executed data migration to Salesforce can leave your critical conversations fragmented, customer profiles – half-empty, or automation rules – broken. It’s the equivalent of publishing a book where chapters are missing, characters lose their names, and key pages land in the wrong place. Instead of clarity, you get confusion.
To avoid that nightmare, let’s unpack how to migrate data to Salesforce properly.

Action 1. Data Audit: Understand the “Chapters” Right
Your journey begins with a careful export. And it needs preparation.
Zendesk holds a wide array of information:
- Tickets – customer questions, issues, and full conversation histories
- Users and Organizations – the basis of your customer database
- Macros and Automations – the rules and shortcuts your team relies on
- Knowledge Base Articles – your self-service resources (often overlooked in migration projects)
- Attachments – files, images, and documents tied to tickets
This is a kind of “packing” before your relocation. If you rush with it, you’ll end up with broken items or missing essentials.
Our tip: When migrating to Salesforce, don’t forget to document your logic behind each macro or trigger. SF may handle it differently, and you’ll need those notes later.
Action 2. Turning Zendesk Fields into Salesforce Objects: Create Order
It’s not an exaggeration: this is where structure matters most. Zendesk and SF speak different dialects. A “Requester” in Zendesk isn’t automatically the same as a “Contact” in Salesforce. If you don’t establish the right connections, you’ll risk confusion.
To avoid it, we recommend that you create a mapping table, for example:
- Zendesk Ticket ID → SF Case Number
- Zendesk Requester → SF Contact
- Zendesk Organization → SF Account
- Custom Fields → SF Custom Objects or Fields
During this phase of your migration to Salesforce, precision pays dividends. SF gives you flexibility, for sure. However, too much freedom can also scatter your data. So, decide early if you will preserve certain custom fields, merge them, or retire them.
Our tip: Your goal should be to arrive at SF with a structure that makes sense for your future workflows.
Action 3. Choosing the Tools: Pick a “Vehicle” for the Journey
At this moment, you need the “right truck” to relocate. And the tool you use matters as much as the strategy. A bicycle won’t carry a piano, and a truck that is too big will waste much fuel. The same logic applies for your data migrations in Salesforce.
So, we recommend that you pick from such “vehicles”:
- Salesforce Data Loader (Desktop). It’s a heavy-duty option. Native, robust, and capable of moving millions of records. Perfect for bulk jobs and teams that are comfortable with scripts or command-line execution.
- Dataloader.io (Cloud). It’s a lighter and friendlier (in terms of UI) cloud-based option. It’s ideal when you want scheduled runs and don’t want to dive into technical detail.
- Salesforce Inspector. It’s a nimble browser extension and it’s handy for quick exports/imports or validation checks. SF Inspector is like a compact car for your short trips – if we continue using the comparison with vehicles.
How to decide what to use? Focus on three essentials:
- Volume – When migrating to Salesforce, are you moving thousands of records or millions?
- Complexity – Do you need to transform and normalize inconsistent data (e.g., different formats for dates, phone numbers, currencies, so on)?
- Frequency – Is it a single migration or will you perform several runs?
Our tip: When you migrate to Salesforce, don’t only compare tool features. Тest them first on a small dataset. A pilot transition shows if your ticket histories stay intact, custom fields land correctly, and relationships between users and organizations hold up.
Action 4. Trial Runs and Data Checks: Trust but Verify
We’ve seen it much more than once: the temptation to rush to the finish line can be strong. Yet, don’t skip test migrations we’ve briefly mentioned in our last tip – don’t relocate without making sure your moving “truck” will actually arrive where it must with all your “belongings” safe and intact.
Start small. Move a subset of tickets, a sample of users, a few macros. Then, inspect the results.
At this stage, your must-check points include:
- Do conversations appear in full, with attachments OK?
- Are customer profiles linked well to organizations?
- Do macros or automation rules need to be rewritten to match SF’s logic?
- Is reporting accurate after your shift?
Our tip: Conduct at least two test runs. The first exposes gaps. The second confirms you’ve closed them. After that, you can plan your full-scale Zendesk to Salesforce service cloud migration.
Let us sum up. Done correctly, your transition won’t feel like a leap into uncertainty. It’s absolutely possible to make it a carefully plotted path that carries your past into the future.
And in that future, your customer care service can deliver at its best.
Feeling you need pro guidance? Reach out to Synebo for Salesforce data migration services. Our team will heІp you make your shift efficient and free from any stress.
What to Do After Migration
Okay, moving from Zendesk to Salesforce is over. Yet, this is only the first stage. Now, you’ve got to turn SF Service Cloud into a system that reflects your company’s routine and helps your customers.
So, what needs to be done next to make Salesforce work to its fullest?
Configure for Your Business
Salesforce is flexible. However, flexibility without direction can waste more time than it saves. Your business has its unique flows: SLA tracking, case routing, escalation triggers, and more. These flows should be reflected in Service Cloud soon after your migration to Salesforce.
- Map your old Zendesk workflows to SF equivalents, but avoid lifting them unchanged (because some rules are tied to outdated processes).
- Adjust fields, page layouts, and record types to fit how your crew serves customers just today.
- Integrate 3d-party tools carefully, making sure they enhance your customer journey and don’t add noise.
This step is similar to arranging furniture in a new office. The walls and roof are there, but the placement determines if your employees work well or keep bumping into each other.
Train Your People
Technology alone never improves customer service. So, without proper training, your staff may revert to old habits and treat SF like “another system” they reluctantly use. Many companies switching from Zendesk to Salesforce have seen this.
- Create sessions for different roles: support agents, managers, analysts, executives. Each group interacts with Service Cloud differently.
- Share practical scenarios and avoid abstract slides. Explain how to log a case, escalate an issue, read a dashboard, and so on.
- Offer workshops after the first month, when questions start appearing.
Training after Salesforce CRM migration is about building confidence. A confident team solves problems faster, handles clients better, and does it with assurance.
Build Helpful Dashboards and Reports
Zendesk reporting could leave you wanting more, this is true. SF, by contrast, gives you a robust reporting engine. But when this system is not configured, it is raw.
- Define the key questions your executives and managers need answered daily. For example, how many cases breach SLA? Which product line creates the most issues? Which team resolves cases fastest?
- Build dashboards that highlight answers visually – this will help you reduce your decision time.
- Automate scheduled reports so your leaders see critical metrics at once and with no problem.
Well-structured analytics shift Service Cloud from a record-keeping system into your decision-support tool (analytics is one of the most valuable gains in your Zendesk-to-Salesforce shift).
Automate – And Do It Thoughtfully
Zendesk macros may have simplified your repetitive actions. But after you migrate from Zendesk to Salesforce, SF automation 100% offers you a wider canvas. Workflows, Flow Builder, and AI-powered tools can effectively remove steps that you used to do manually.
- Automate case routing based on product, region, or SLA priority
- Trigger notifications for overdue cases or unsatisfied customers
- Set up auto-escalation paths, so nothing important slips from your sight
You will see results soon. Your customers get the same level of attention. But your help line agents gain much more time for complex problems.
Monitor, Measure, Refine
No system remains static. After your migration to Salesforce, we recommend that you perform constant observation. Service Cloud gives you logs, health metrics, and adoption stats – so, use them.
- Track case resolution times before and after your migration.
- Collect feedback from your customer care agents (which screens slow them down? Which automations don’t work the way they must? Is there any confusion? Where?)
- Adjust configurations incrementally; don’t wait for quarterly overhauls.
These improvements are essential. They ensure SF grows alongside your business and prevent your new CRM from becoming another outdated tool in three years.
Migrating from Zendesk to Salesforce Service Cloud can and must be a reset button for your customer service. Handle the post-migration phase with the same seriousness as the migration itself, and SF will evolve into more than software. It will become a model for how you serve your clients.
Turn Your Move into Growth
So, switching from Zendesk to Salesforce is a decision about how your company wants to serve your customers. SF Service Cloud opens the door to much more polished processes, stronger insights, and service that scales with your ambitions.
Yet, if you make the leap without a trusted guide, it can leave gaps in your new CRM setup that will undermine the value of the move.
That’s where Synebo’s expertise can help you a lot. Our team knows how to implement migrations that hold together under pressure and grow with your business.
Ready to leave behind your frustration from a CRM you’ve outgrown? Talk to Synebo. As your Salesforce data migration partner, we’ll help you move – quickly, methodically, and risk-free.
Migrations can span a few weeks or several months. The period is conditioned by data volume, workflow complexity, and connected systems. Small-to-mid setups may wrap in 4–8 weeks. Complex enterprise environments can stretch 3–6 months.
Typical budgets include licenses; plus, companies usually account for 3d-party migration software, help of a Salesforce data migration service provider, and training sessions. By the way, many companies often overlook time. Yet, every extra week spent untangling messy data adds up to staff hours. When you factor both direct and indirect costs upfront, it prevents surprises during the process.
In most cases, no. Many firms run a phased approach. They keep Zendesk active during the period Salesforce comes online. This approach helps their helpdesk crew keep serving their customers without problems. If you follow a throughout plan, you can maintain your operations, move data, and avoid disruptions – effortlessly.
Nearly everything finds its counterpart in SF, although not always in a one-to-one manner. Some custom features will need rethinking, and certain integrations may surely require new connectors. Map your business-critical functions in advance. This way you will get clarity on what carries over directly and what deserves a redesign.
If your setup is straightforward, your in-house IT team may succeed. If your integrations involve finance, operations, customer support, and more, outside specialists become invaluable. They bring tested frameworks, deep expertise from earlier migrations, and an eye for details that internal teams may not have. Their guidance reduces risk and accelerates your move.
If you skip the preparation stage, migrate old uncleaned data, or leave your team unprepared, your project may look faster on paper. But, you’ll see later – and very soon – your actual costs of migration, when your system fails to deliver results. Successful migrations start with cleanup, pilot runs, and training, so staff and systems move forward in sync.