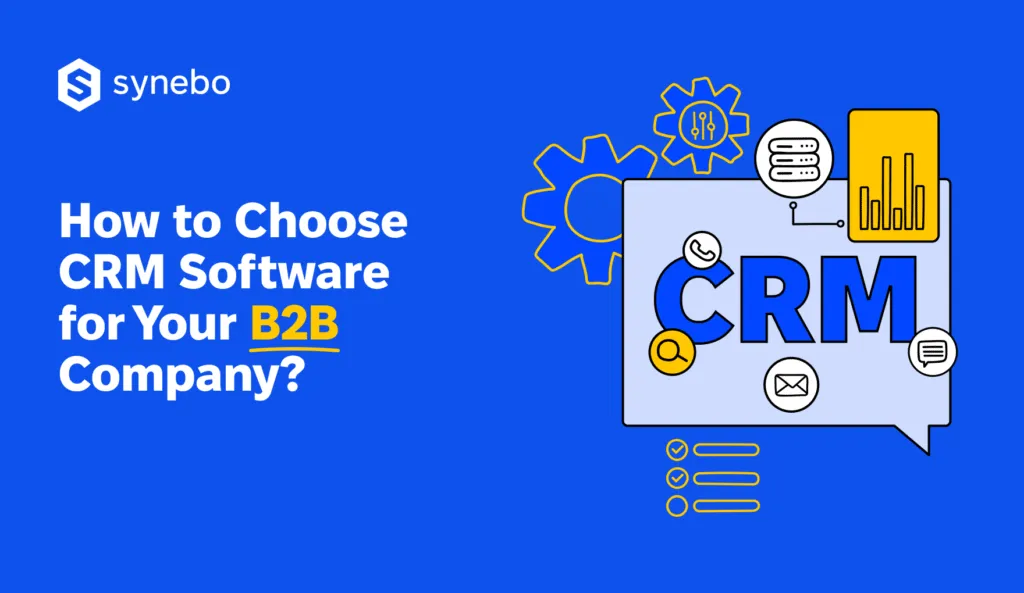
Salesforce Development Lifecycle Explained

Cloud solutions have become the standard for modern businesses, with platforms like Salesforce offering a powerful environment for app development. However, building a Salesforce app comes with unique challenges, even for experienced developers. From setting up repositories to testing and deployment, every step requires precision and expertise.
In this article, we break down the Salesforce development lifecycle into three key steps: setting up a source control repository, developing in a sandbox environment, and thorough app testing.
What Is Salesforce Development?
Salesforce development is all about building and customizing applications on the Salesforce platform. It empowers users to extend the capabilities of Salesforce beyond its core functionalities to fit their specific business needs.
Here’s a breakdown of what Salesforce development involves:
- Custom object and field creation: Defining data structures tailored to business needs.
- Apex development: Writing backend logic, triggers, and batch processes.
- Lightning Web Components (LWC) and Aura: Building modern, interactive UI components.
- Visualforce development: Creating custom UI pages for legacy implementations.
- API integrations: Connecting Salesforce with external systems via REST/SOAP APIs.
- Automation with flows and Process Builder: Reducing manual work through declarative tools.
- Security and permissions management: Configuring profiles, roles, and sharing rules.
- Data migration and ETL: Importing, exporting, and transforming data between systems.
- Testing and debugging: Running unit tests, debugging Apex, and validating functionality.
- Deployment and release management: Using Change Sets, Metadata API, or DevOps tools.
Let’s also take a look at Salesforce development aspects:
- Scalability and flexibility: Solutions can be adapted to growing business needs with configurable features and integrations.
- Security and compliance: Robust access controls, encryption, and audit trails ensure data protection and regulatory compliance.
- Declarative and programmatic development: Combines no-code tools like Flows with custom coding in Apex and LWC.
- Seamless integration: Connects with third-party apps and services via APIs, middleware, and native connectors.
- Continuous innovation: Regular Salesforce updates introduce new features and enhancements for developers.
- Multi-cloud capabilities: Supports integrations across Sales Cloud, Service Cloud, Marketing Cloud, and more.
- Automation and AI: Uses tools like Einstein AI, Process Builder, and Flow to streamline workflows and decision-making.
7 Stages of Salesforce Development Lifecycle
Let’s proceed by reviewing stages of an actual Salesforce development lifecycle:
#1 Requirement gathering and analysis
The process begins with identifying business needs, defining key objectives, and documenting requirements. Stakeholders collaborate to outline workflows, compliance needs, and integration points.
A detailed analysis of existing processes helps identify gaps and areas for improvement. Clear documentation, including user stories and acceptance criteria, ensures alignment with business goals.
#2 Planning and design
The team selects the right Salesforce tools like Apex, LWC, and Flows while defining data models, security settings, and UI/UX structures. A roadmap is created to guide development efficiently.
Wireframes or prototypes may be developed to visualize workflows. Planning also includes resource allocation, risk assessment, and establishing best practices for implementation.
#3 Development
Developers build the solution using a mix of declarative tools and custom code while following best practices. Features like automation, integrations, and security controls are implemented.
Version control and collaboration tools like Git help manage code changes. Regular peer reviews and incremental testing ensure quality before moving to the next phase.
#4 Testing and quality assurance
Unit, integration, and regression tests are conducted to validate functionality. QA engineers use sandbox environments to detect and resolve potential issues before deployment.
Automated testing tools help streamline the process, reducing the risk of bugs in production. Security testing ensures compliance with industry standards.
#5 User acceptance testing (UAT)
Business users and stakeholders test the solution in a staging environment. Their feedback helps refine workflows, enhance usability, and confirm that the system meets business needs.
Any required modifications are made before final deployment. This stage also serves as a training period to prepare users for the live system.
#6 Deployment and release management
The solution is migrated to production using Change Sets, Metadata API, or DevOps tools. Deployment is carefully planned to minimize downtime and ensure a smooth transition.
Post-deployment validation ensures all components function correctly. A rollback plan is in place to address any unforeseen issues.
#7 Maintenance and optimization
After launch, the system is monitored for performance, security, and user feedback. Regular updates and patches keep the solution stable and aligned with Salesforce releases.
Continuous improvements based on analytics and user needs help enhance efficiency. Future iterations may introduce new features or optimizations.
Looking for development assistance? Explore Synebo offerings and reach out to us at our Salesforce app development web page.
The Main Salesforce Development Models
Salesforce offers two main development models for different development scenarios
#1 Org development model
Use case: Ideal for working with orgs that don’t have source control, such as:
- Non-source tracked sandboxes
- Developer Edition (DE) orgs
- Trailhead Playgrounds
- Even a production org (use with caution!)
Functionality:
- Allows directly retrieving and deploying code to the chosen org.
- No need for separate packaging or version control.
- Useful for quick fixes, testing, or prototyping on existing orgs.
#2 Package development model
Use case: Best for creating self-contained applications or libraries for distribution.
Functionality:
- Develops code in a source-controlled org (like a scratch org or sandbox).
- Packages the code into a single, deployable unit.
- Enables sharing and deploying the package to other orgs easily.
- Ideal for reusable components, custom applications, or AppExchange listings.
How to choose the right model:
- Consider your project’s needs and goals.
- If working with existing orgs without source control, Org Development is simpler.
- If aiming for reusable components or wider distribution, Package Development offers more flexibility.
How to Build an App on Salesforce?
Salesforce provides a powerful platform for building cloud-based applications, offering tools like Apex, Visualforce, Lightning Web Components (LWC), and metadata components. Developers manage source code using version control systems like Git or SVN and collaborate across different roles.
You need a group of specialists to handle each particular development aspect. Here is the most common list of who is involved in Salesforce app development:
- The Product Manager is taking responsibility for business requirements confirmation.
- The Release Manager has to coordinate the date of release.
- Those who do the coding and produce deliverables are developers or administrators.
- The quality assurance specialist would test the product on various bugs’ presence.
- Salesforce consultant offers a solution for building business processes and optimizing them.
Below are the key steps to execute a Salesforce app development lifecycle effectively:
Step 1: Set up Source Control Repository
A source control repository is essential for managing code changes, tracking versions, and ensuring collaboration. Developers use repositories like Git to maintain production metadata and branch structures.

Measures to take:
- Create a Git repository: Set up a repository with a default master branch to store production metadata.
- Define branching strategy: Use feature branches for individual development tasks and merge them into the main branch after testing.
- Set up package.xml manifest: Populate the master branch with metadata and configure it for deployment using Salesforce Migration Tool or Metadata API.
- Use automation tools: Implement CI/CD tools like Copado or Gearset to streamline deployments and manage conflicts efficiently.
Step 2: Salesforce Sandbox
Development takes place in sandboxes—isolated environments that mirror production without affecting live data. Salesforce offers Developer, Partial Copy, and Full Copy sandboxes for different stages of the process.
Measures to take:
- Select the right sandbox: Use Developer Sandboxes for coding, Partial Copy Sandboxes for integration testing, and Full Copy Sandboxes for UAT.
- Connect the sandbox to an IDE: Use Salesforce Developer Console, Visual Studio Code with Salesforce extensions, or Force.com IDE.
- Implement coding best practices: Follow Apex governor limits, optimize SOQL queries, and write reusable Lightning Web Components (LWC).
- Commit changes to Git: After coding and initial testing, commit updates to the repository while ensuring there are no conflicting modifications.
Step 3: App Testing
Testing ensures the app functions correctly before deployment. It includes unit testing, integration testing, regression testing, and performance testing in various sandboxes.
Measures to take:
- Run unit tests: Write Apex test classes with at least 75% code coverage to meet Salesforce deployment requirements.
- Use Partial Copy Sandboxes: Test specific features separately before integrating them into the full system.
- Perform user acceptance testing (UAT): Business users validate app functionality in a Full Copy Sandbox before final release.
- Conduct regression and performance testing: Use automated tools like Selenium and Salesforce Load Testing to check stability under heavy usage.
Common Challenges in Salesforce Development
Now the time is just right to explore common challenges in Salesforce development that teams frequently face and some tried and tested solutions to them:
#1 Metadata and version control
Salesforce metadata, which defines objects, fields, permissions, and configurations, can be difficult to manage across multiple environments. Without proper version control, changes may be lost, overwritten, or cause conflicts during deployment, leading to inconsistencies in development and production.
Solution: Use version control systems like Git to track and manage changes. Implement DevOps tools like Copado or Gearset to automate deployments, maintain metadata consistency, and streamline collaboration among developers.
#2 Integration complexities
Integrating Salesforce with external systems such as ERP, payment gateways, or third-party analytics tools requires handling API compatibility, data synchronization, and security compliance. Poorly planned integrations can lead to data inconsistencies, slow performance, and compliance risks.
Solution: Use middleware solutions like MuleSoft or Salesforce Connect for real-time data access. Follow API best practices, such as rate limiting and OAuth authentication, to ensure smooth, secure, and scalable integrations.
#3 Security and access management
Ensuring proper data security in Salesforce is complex, especially in organizations with multiple departments, external users, and compliance requirements. Misconfigured permissions, sharing settings, or public API exposure can lead to data breaches or unauthorized access.
Solution: Implement a least-privilege access model by using roles, profiles, and permission sets. Leverage Salesforce Shield for enhanced encryption, event monitoring, and audit tracking. Conduct regular security audits to identify vulnerabilities.
#4 Frequent Salesforce updates
Salesforce releases major updates three times a year, which may introduce new features, deprecate old functionalities, or impact existing customizations and integrations. Organizations that fail to prepare may experience system disruptions or broken workflows.
Solution: Review Salesforce release notes in advance and test updates in preview sandboxes before deploying changes to production. Establish a proactive update strategy to minimize downtime and ensure compatibility with custom features.
Final Take
Successfully developing a Salesforce app requires careful planning, collaboration, and thorough testing. By following these three steps—source control setup, sandbox development, and app testing—you can streamline the process and ensure a smooth deployment.
Should you need assistance with Salesforce app development, don’t hesitate to reach out to the Synebo team of expert engineers. With more than 9 years of experience on the market, and with over 1000 successful projects under our belt, we are ready, willing, and able to contribute to your best project.
Challenges include complex security and access controls, ensuring seamless integrations with third-party systems, managing metadata and version control, and handling frequent Salesforce updates. Performance optimization, testing in sandbox environments, and aligning business requirements with technical capabilities also pose difficulties. Proper planning, documentation, and DevOps strategies help mitigate these issues.
Key roles include Product Manager (defines business requirements), Release Manager (handles deployments), Salesforce Developer (writes Apex, LWC, integrations), Administrator (configures workflows, security), QA Engineer (tests functionality), and Salesforce Consultant (optimizes processes). Collaboration between these roles ensures efficient development, testing, and deployment.
The development timeline varies based on complexity. Simple apps with declarative tools take a few weeks, while custom-coded solutions with integrations, automation, and advanced UI may take several months. Enterprise-level apps requiring extensive testing, security reviews, and AppExchange approval can take six months to a year.
Salesforce supports CRM extensions, automation tools, AI-powered analytics, industry-specific solutions, and integrations with third-party platforms. Apps can be built for sales, customer service, marketing, finance, HR, and operations using Apex, LWC, and declarative tools. Many are designed for internal use, while others are distributed via AppExchange.