3 Steps for Salesforce App Development Lifecycle
Cloud solutions have become so widespread nowadays and captured our minds. Both eCommerce giants and B2B companies tend to use platforms like Salesforce to develop their apps within a cloud-based environment. However, such development remains a challenge even for specialists.
Why? And how developing apps for Salesforce looks like? You can find the answers below.
How to build an app on Salesforce?
Salesforce platform (previously Force.com) is a well-known environment for all sorts of developments. In addition, since it is built with the help of Eclipse, it might be easily integrated with plugin use.
Such tools as Apex, Visualforce, and metadata components are robust equipment to develop Force.com Apps. Developers transfer these files to the source control repository, making changes and loading them again into the system. Developers usually use Git or SVN for source control.
You need a group of specialists to handle each particular development aspect. Here is the most common list of who is involved in Salesforce app development:
- The Product Manager is taking responsibility for business requirements confirmation.
- The Release Manager has to coordinate the date of release.
- Those who do the coding and produce deliverables are developers or administrators.
- The quality assurance specialist would test the product on various bugs’ presence.
- Salesforce consultant offers a solution for building business processes and optimizing them.
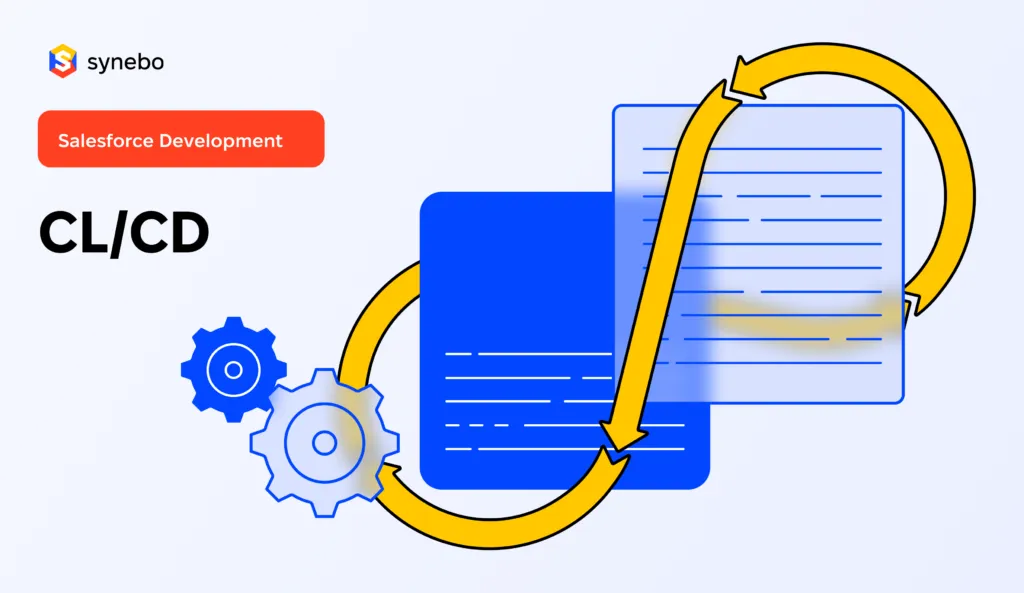
Further steps are represented and clearly, demonstrate the whole Salesforce App Development Lifecycle.
Step 1: Set up Source Control Repository
From a developer’s point of view, it is essential and advantageous to have a separate Git repository with a default master branch for each project. It applies to the production metadata stored in the master’s branch.
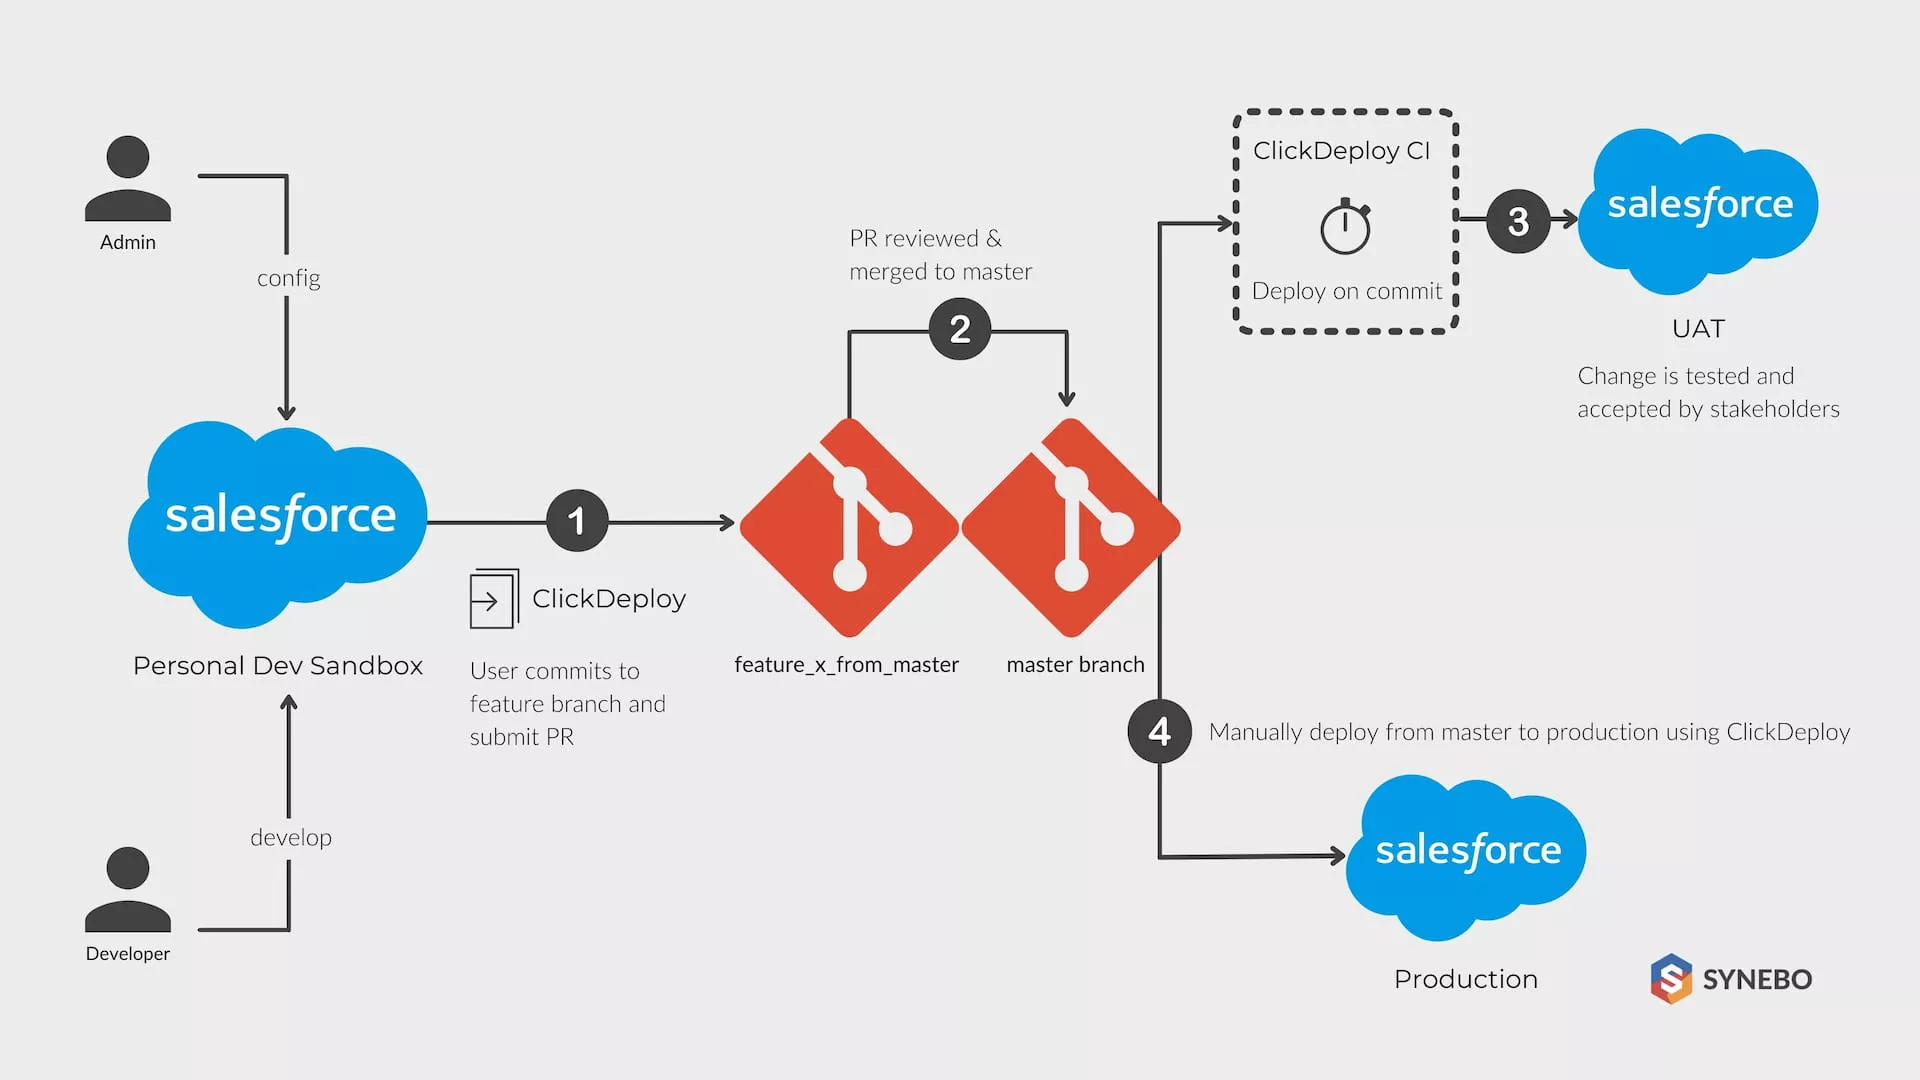
As we mentioned before, several specialists are involved in the Salesforce development process. For example, the Release Manager creates different branches according to various features.
Moreover, it is supposed to be handled by particular developers. Further, this specialist also assists in creating a package.xml manifest by populating the master branch with metadata and using Force.com Migration to transfer the data.
Step 2: Salesforce Sandbox
The development stage begins with coding in sandboxes. Salesforce has a concept of sandboxes, which is completely separated from the Salesforce production. Of course, this presumes that the performed operations in your sandbox would not influence your Salesforce production enterprise and another way around.
To retrieve the metadata from the sandbox to the IDE, developers use Force.com IDE and connect their sandbox. Then, they do the necessary coding and commit the code to the Git repository, but before that, they perform the unit’s initial level of testing.
The committed fresh code is transferred to their sandboxes for further development, and finally, they finish it in the repository. But before committing the code, developers have to make sure nobody else is involved in coding at the same time to avoid any possible conflicts.
Step 3: App testing
After the development process, testing is the next stage. Finally, QA engineers like developers usually create their sandboxes and transfer the code from the repository.
Once in a while, a QA specialist is assigned to test only one distinct feature apart from the whole code, then Partial Copy Sandboxes are used, and selected parts are deployed in this case.
Depending on the workflow pattern, QA specialists may also share their sandbox with other colleagues for more thorough testing of vital features. Again, however, developers get back to the very beginning in case of revealing any crucial mistakes.
The final level of testing is destined for users’ acceptance. Then, release managers and project managers create partial sandboxes and carry out additional testing. Afterward, they prepare the product for presentation to the customers. Once again, if any changes are proposed, it takes everybody to the first stage of the development process.
When we finally get to the product release, it is all about performance testing. This stage is represented on the intermediate sandbox, which has widespread app features, unlike partial sandboxes. Rigorous and regression testing is happening, and in case all the stages of testing are successful, the product is deployed in production.
Closing
We hope this article was helpful for you. We would be happy to answer all questions so, please write your comments below or send us an email at contact@synebo.io.


